

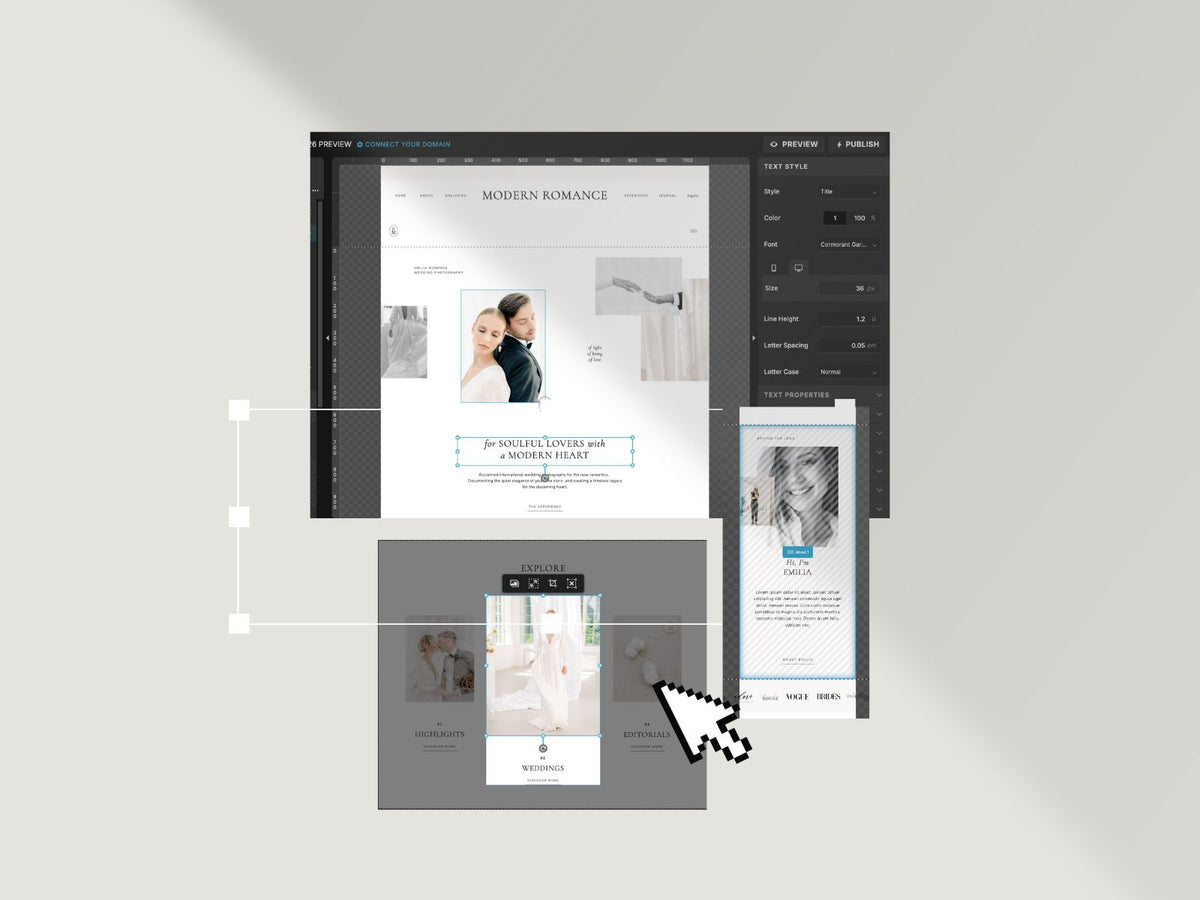
The Process
02.
Please take a moment to read through the Setup Guide, to ensure a smooth and successful website setup.
03.
Check the Setup Workbook with helpful tips and recommendations to prepare your website content.
01 / The SETUP Brief
Please take your time to fill out the template setup brief below,
and I'll be in touch as soon as possible.

Contact form
02 / The SETUP Guide
Please take a moment to read through this guide, to ensure a smooth and successful website setup. ♡
01 / The REVIEW
WEBSITE
I'll start by taking a look at your current website (if you have one) and share a few helpful tips on choosing images, fonts, and making your existing copy work beautifully with your new template.
NOTE
This step is completely optional! If you don't need a website review, simply select “No” in the Setup Brief.
02 / The CURATE
SHARE
Fill out the Setup Brief from above and send it to me.
After you've shared all your content with me, I'll carefully add it to your chosen template, making sure everything looks beautiful & cohesive.
PROVIDE
- All website copy, organized by page or section. Or I'll thoughtfully select your copy from your current website and add it to your chosen template.
Please note that copywriting and creating new text are not included. - Your selected images in the recommended file formats, sizes & titles.
- Your logo, favicon, and branding materials. Your preferred fonts and brand colors.
SHOWIT ACCESS
Access to your Showit account by adding me as a contributor.
03 / The TIMELINE
2-4 Weeks
Your project timeline begins when all required content, branding materials, account access, and completed setup information have been received.
The timeline is an estimate and may vary depending on the project requirements and timely communication.
I'll always do my best to keep the process smooth and communicate any significant changes along the way.
04 / The REFINE
ONE
REFINEMENT
Once I've added all your content and branding to your chosen template, you'll have one round of refinements to make sure everything looks and feels just right before we move on to the final steps.
YOUR
REVIEW
Take your time to look through each page and let me know if you'd like any little adjustments, such as changes to spacing, font sizes, image placement, or other small design details.
FEEDBACK
7 DAYS
You'll have 7 calendar days from the date the review version is shared to submit your feedback.
05 / The LAUNCH
FINAL DESIGN
After you've approved the final design, I'll take care of the last little details to make sure everything is ready for launch.
DOMAIN CONNECTION
I'll then hand over your completed website, ready for you to connect your domain and publish it through Showit.
And just like that, it's time to go live! You can finally share your website with the world and celebrate this exciting next chapter of your business.
IMPORTANT NOTE
103 Redirection
If any of your existing page URLs change, please set up 301 redirects before launching.
These guide visitors to your new pages, prevent broken links, and help protect your SEO rankings!
Need some help? Let me know and I can create an offer for you.
CURATE & SHARE
Branding
LOGO
Please provide your logo as a high-resolution PNG file with a transparent background.
If available, include both a light and dark version so your logo looks beautiful on different backgrounds.
FAVICON
Square PNG file (512 × 512 px), preferably with a transparent background. A simple logo or brand symbol works best.
COLORS
If you'd prefer different colors from those included in your purchased template, please share your preferred HEX codes and briefly mention where you'd like each color used, such as backgrounds, text, buttons, or accents.
Copytext
OPTION ONE
Write and organize your website copy for the different text sections of your chosen Showit template.
Please keep the length of each text block in mind so your content fits beautifully within the existing layout. I'll take care of adding everything for you.
OPTION TWO
I'll thoughtfully select and arrange the text from your current website to fit your new template.
You can review everything and make any necessary text adjustments afterward.
Images
Select your favorite photographs that best represent your work and photography style.
To keep your website looking beautiful and loading smoothly, please follow these guidelines:
Image Size: Ideally 2000–2500 px wide for full-width images and 1000–1500 px for smaller images.
File Format: JPG for photographs, preferably optimized for web use.
File Size: Aim for under 500 KB per image whenever possible, while maintaining good image quality.
File Naming: Give each image a clear, descriptive filename using relevant keywords, such as romantic-garden-wedding-photography.jpg, instead of IMG_1234.jpg.
Please upload your images in the recommended sizes and formats so I can thoughtfully arrange them throughout your chosen template.
Fonts
Share your preferred fonts or existing brand typography, if you have any.
If not, we can keep the beautiful fonts included in your chosen template.
File Format: WOFF or WOFF2 is recommended for web use.
Font Licensing: Any premium or paid fonts must be purchased separately and include a valid webfont license.
Free Fonts: You're welcome to use free fonts, such as Google Fonts, if you prefer.
04 / The UPLOAD
You're almost ready to get started! ♡
Please create a Google Drive folder to keep all your website content organized
and ready to share.
01 — CREATE YOUR FOLDER
Create a new folder in Google Drive and name it Website Content.
03 — SHARE YOUR FOLDER
Once everything is uploaded, share your Google Drive folder with me. Please make sure I have permission to view and download all files.
And that's it! Once I've received everything, I can get started on your website setup.
02 — ORGANIZE YOUR FILES
Add separate subfolders for your Images, Website Copy, Branding, and Fonts. Upload your files to the corresponding folders so everything is easy to find.
NOTE
If you'd prefer to share your files another way, just let me know! ♡

Frequently ASKED

Do you offer additional Service?
Do you offer additional Service?
YES — If you need additional pages that aren't included in your chosen template, I'd be happy to design them for you, making sure they blend beautifully with your existing template, content, and branding.
I can also help with setting up 301 redirects if you're moving from an existing website and want to make sure your old links continue working.
If you have something extra in mind, feel free to reach out! I'd love to hear about your needs and put together a custom package just for you. ♡
Why are 301 redirects important? (Google Search Ranking)
Why are 301 redirects important? (Google Search Ranking)
When you launch a new website, some of your existing page URLs may change. A 301 redirect automatically sends visitors from an old URL to the new one.
This helps protect your Google rankings, keeps links from other websites working, and prevents visitors from landing on a “Page Not Found” error.
Important: If any of your URLs change, make sure to set up 301 redirects before launching your new website. Whenever possible, keep your existing URLs the same!
Need some help? Let me know and I can create an offer for you.
How do I connect my domain?
How do I connect my domain?
A domain isn't required while you're customizing your website, but you'll need one before going live.
I recommend purchasing your domain early, and when you're ready to launch, Showit's support team will help you connect it to your website. Take a look here
How can I share my Showit access with you?
How can I share my Showit access with you?
01 — Log in to Showit
Visit app.showit.co and log in to your account.
02 — Open your account settings
Click your name in the bottom-left corner, select Manage Account, and open the Account section.
03 — Add me as a contributor
Scroll down to Contributor Access, enter the email address I provided, and send the invitation.
04 — You're all set!
I'll receive access to your website through my own Showit account, so there's no need to share your password. ♡
You can remove my access anytime after your website setup is complete.
How do I connect my existing WordPress blog?
How do I connect my existing WordPress blog?
Already have a WordPress blog connected to Showit? Good news! ♡ Your existing blog posts can stay right where they are.
When you're ready to launch your new design, simply open Site Settings → Blog in Showit and select your existing blog domain. Make sure your new blog templates are set up correctly, then publish your website.
And that's it! Your existing blog content will appear within your new design.
For step-by-step instructions, take a look at Showit's helpful guide below.
Publish a New Design
How to Change Your Blog Template
Questions?
If you have any questions please reach out to me and I'll reply back as soon as possible!
I’ll be more than happy to help you in any way that I can!


